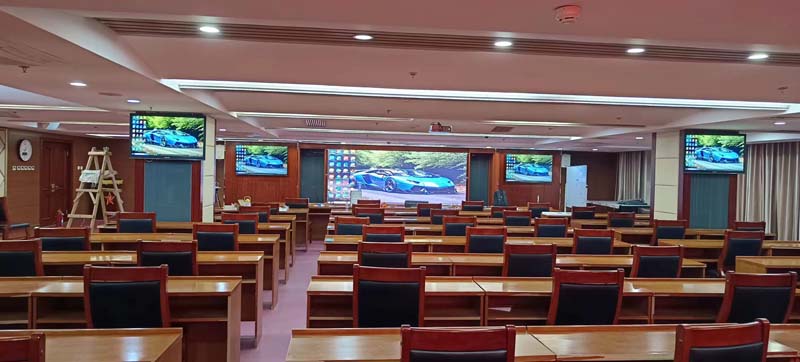
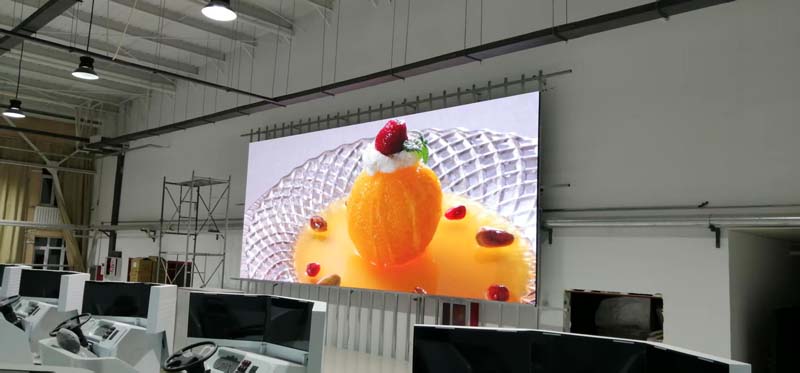
Two integrators send you quotes for the same 6 m by 3 m indoor wall. Both say P2.5, both list 3840 Hz, both promise three years of warranty. Only one of those screens will still look clean under a studio camera in year three, because the difference is buried in specifications most quotes never print: the driver IC, the scan mode, the grayscale depth at low brightness, and how the module sheds heat inside the cabinet. This guide walks through the engineering behind those numbers so you can compare modules on equal terms instead of on price alone.
Pixel Pitch: The One Number You Cannot Upgrade Later
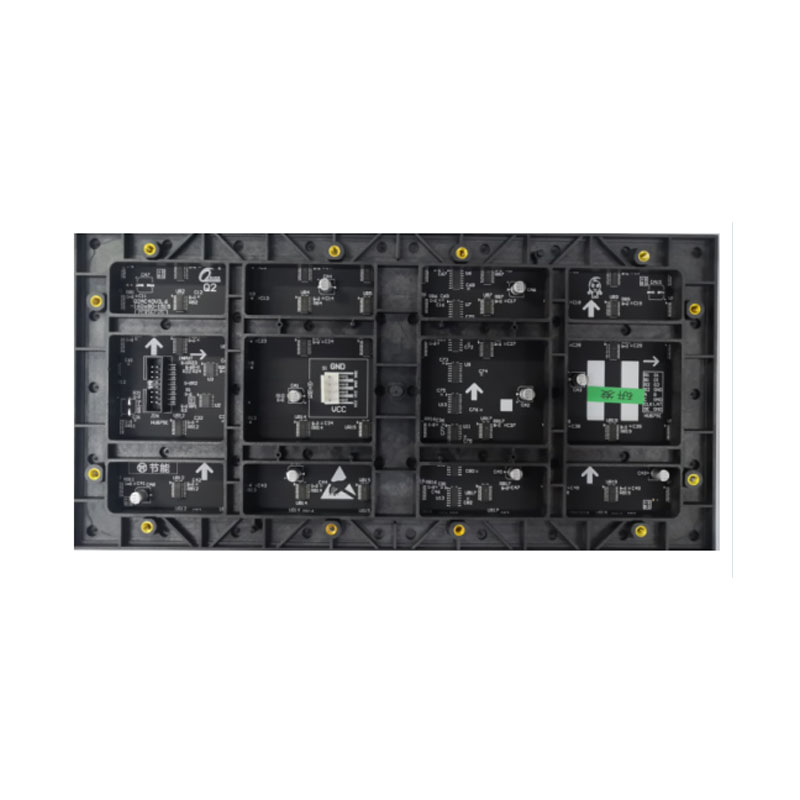
Pixel pitch is the distance in millimeters between the centers of two adjacent LED clusters, where a cluster is one red, one green and one blue emitter. It sets the physical resolution ceiling of the screen. Pixels per square meter work out to one thousand divided by the pitch, squared, so a P2.5 module carries about 160,000 pixels per square meter while a P1.25 module carries roughly ten times more. That density is why fine pitch costs more per square meter, and why it cannot be added after the fact.
The widely used rule of thumb for minimum viewing distance is the pitch in millimeters read as meters: P2.5 looks acceptable from about 2.5 m, comfortable at roughly 1.5 times that, and optimal at about three times. Indoor corporate and control-room walls commonly sit between P1.25 and P2.5. Rental and stage screens with audiences further back live happily at P3.91 or P4.81. Outdoor advertising typically runs from P5 to P10 depending on traffic distance.
⚑ Dimension the audience, not the brochure. Buying finer pitch than the closest viewer needs multiplies cost, power draw and heat without a visible gain. Buying coarser pitch than the camera will frame leaves visible structure on broadcast and on the client's trophy photos.
Brightness, Grayscale and Refresh Rate: The Trio That Decides On-Camera Quality
Brightness is measured in nits, equivalent to candela per square meter. Indoor screens generally run 600 to 1,200 nits. Semi-outdoor and window-facing walls sit around 2,500 to 4,000 nits. Direct-sun outdoor displays commonly reach 4,500 to 7,000 nits. More is not automatically better: an over-bright screen in a dim hall crushes dark tones and tires the eyes, which is why a working ambient-light sensor with a sensible dimming curve matters as much as the peak figure.
Refresh rate is how many times per second the entire image is redrawn, and it is the specification that most often separates two otherwise identical quotes. A camera capturing a bright LED wall at a fast shutter speed sees whatever the panel happens to be showing in that instant, so a low refresh rate produces dark horizontal bands across photos and video. For content that will be filmed, keep refresh at or above 1920 Hz, and specify 3840 Hz or higher for broadcast, rental and virtual production. Pushing refresh higher consumes driver bandwidth and can trim the peak current available per channel, so it has to be balanced against brightness rather than chased blindly.
Grayscale is the number of brightness steps available per color channel, expressed in bits. Fourteen bits gives roughly 16,000 steps, sixteen bits roughly 65,000. The figure that actually matters on site is low-brightness grayscale: when a screen is dimmed to twenty percent in an evening banquet hall, gradients in skin tones and dark backgrounds must still be smooth, with no banding or blocky steps. This is a driver IC capability, not a processor feature, which is why the IC part number belongs in the quote.
Scan Mode, Driver ICs and Power: Where the Hidden Cost Sits
Scan mode describes how many rows of a module are lit at any instant, written as fractions such as 1/8, 1/16 or 1/32. Static drive keeps every LED lit continuously and delivers the highest brightness and the strongest low-gray performance, at the cost of many more driver ICs, more heat and a higher price. At 1/32 scan the driver sweeps the rows fast enough that the eye integrates the image, which cuts component count and cost but requires a higher refresh rate and higher peak drive current to avoid flicker and dimming.
The practical consequence is that scan mode, driver IC and refresh rate are a single decision, not three separate line items. Outdoor high-brightness panels often use lower scan values to get more light per LED. Fine-pitch indoor modules usually run 1/32 or higher with high-PWM constant-current drivers. Ask for the driver IC family and scan mode in writing, and compare quotes with identical values, because a cheaper IC can introduce ghosting, dim first lines or visible flicker that no amount of calibration will fix.
Power follows the same logic. Module data sheets list a maximum, but real average consumption across typical content lands near thirty to forty percent of that figure, rising with white-heavy content such as sports and news. Size circuits and generators against the maximum, then verify the average to plan cooling and operating cost. Common-cathode driver designs typically cut consumption noticeably against conventional common-anode layouts, which pays back over a multi-year rental or fixed installation.
Heat, IP Rating and Viewing Angle: What Survives Year Three
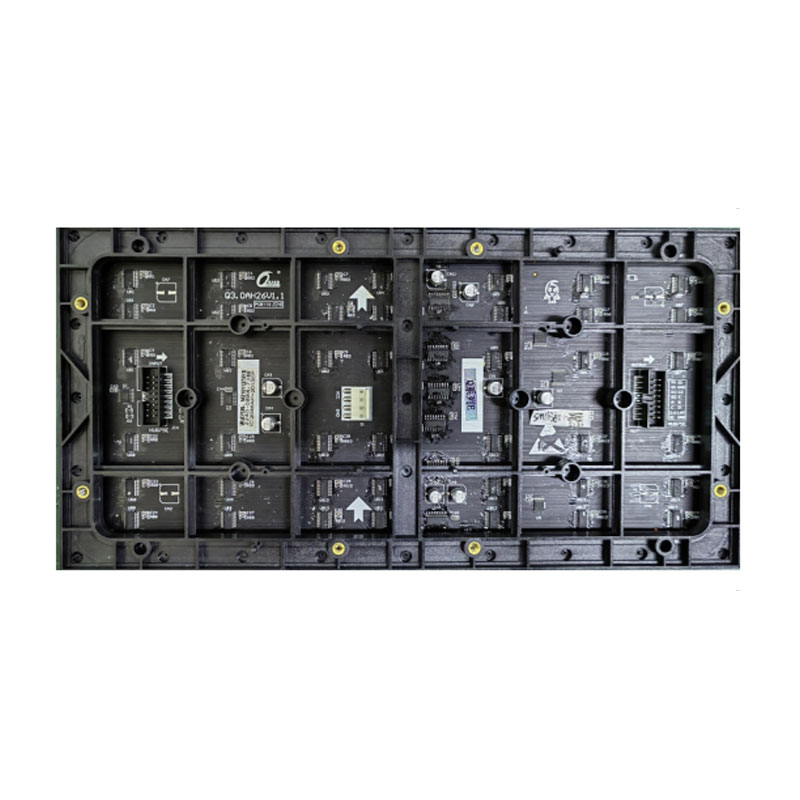
LED efficiency falls as junction temperature rises, and the dominant wavelength shifts with it, so a poorly cooled cabinet drifts in color and brightness as the day warms up. Good modules use aluminum-backed cabinets, thermal interface material between the PCB and the frame, and generous spacing between the module and the power supply. Fanless designs are preferable wherever ambient noise matters, provided the thermal path is genuinely sufficient rather than merely quieter on paper.
Ingress protection is written front and rear, and the two numbers are not the same. Indoor modules typically sit around IP31 to IP43. Outdoor fronts are usually IP65, meaning dust-tight and resistant to water jets, with IP54 as a common minimum for the rear. Coastal and heavy-rain installations justify IP66 and additional conformal coating against salt and humidity.
Viewing angle is produced by the LED lens. Surface-mount devices commonly deliver 140 to 160 degrees horizontally and vertically, while chip-on-board designs spread wider and tolerate contact better, at the cost of on-axis brightness and different reflectance behavior. Wider angle and higher peak brightness pull against each other, so match the choice to where people actually stand.
Calibration and Uniformity: Making a Wall Look Like One Screen
Modules leave production with small brightness and color differences. Factory procedures range from module-level calibration, which stores one set of coefficients per module, to full pixel-level calibration, which corrects every emitter individually. Pixel-level calibration costs more and holds up better on fine pitch and on camera. Look for stated brightness uniformity within a few percent and a color difference figure between cabinets, and ask whether the coefficients are locked or can be re-applied in the field.
That last question matters two years later, when a replacement module has to match a screen built from an older production batch. Modules that store their own calibration data make field swaps a routine task. Generic replacements without matching coefficients produce visible rectangles that no software setting will hide.
Buying Checklist
✔ Define closest and furthest viewer distance first, then choose pitch from the viewing-distance rule.
✔ Match brightness to ambient light, not to the largest number in the catalog.
✔ Require refresh at or above 1920 Hz, and 3840 Hz or higher for any filmed content.
✔ Request driver IC part number, scan mode, grayscale bits and low-brightness grayscale performance in writing.
✔ Confirm module and cabinet dimensions produce the screen size and aspect ratio you promised.
✔ Calculate maximum and average power draw separately, then size circuits and cooling accordingly.
✔ Specify IP rating for front and rear, plus coating for coastal or highly humid sites.
✔ Order spares at three to five percent of module count from the same production batch and calibration set.
✔ Test a physical sample module with your own content: dark gradients at twenty percent brightness, fast motion, and a phone camera video at high shutter speed.
✔ Ask for the calibration method, aging test procedure and written warranty terms.
Choosing a Supplier Who Can Answer Technical Questions
A supplier who can name the driver IC, explain the scan mode, and send a calibrated sample module with matching spares is telling you something about the production line behind the quotation. HITULED builds indoor and outdoor fixed, rental, fine-pitch, transparent and custom-shaped LED displays with module level calibration data retained per batch, and can supply sample modules and cabinet drawings so your engineering team can verify refresh, low-gray performance and thermal behavior before the order is placed. Send HITULED your installation conditions, viewing distance and camera requirements, and request a module sample or project quote with the relevant specifications listed point by point.
SEO Keywords: LED display module, pixel pitch, LED screen refresh rate, scan mode, LED display buying guide
SEO Description: How to choose an LED display module: pixel pitch, brightness, refresh rate, grayscale, scan mode, IP rating and calibration explained for B2B buyers, with a practical checklist.