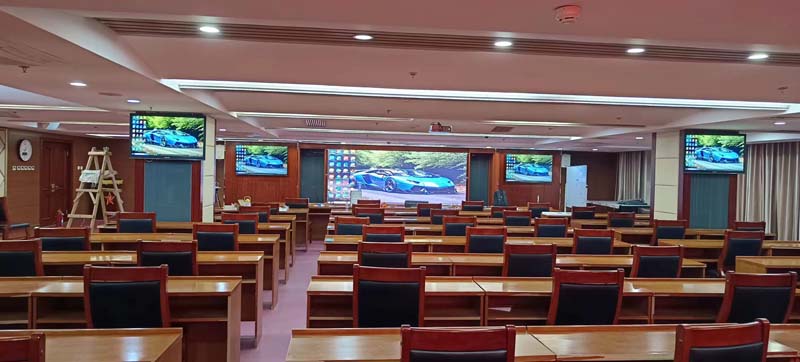
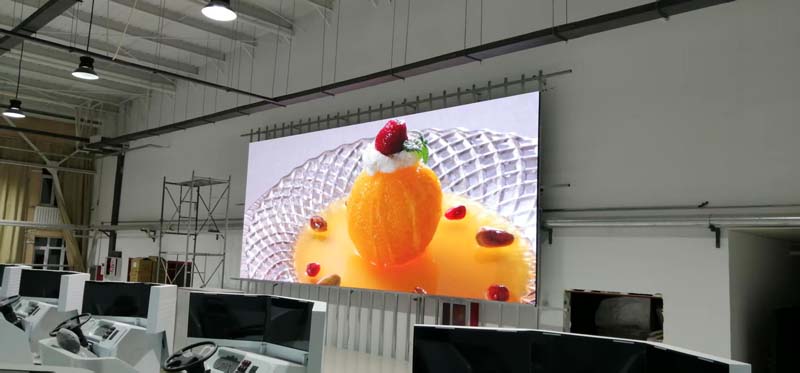
An LED screen rarely fails as a whole. It fails module by module: one block of an outdoor LED screen drifts pink against a white background, a row of pixels drops out after the second rainy season, or two cabinets from different production batches meet at a seam that is obvious the moment the content fades to dark gray. Overseas distributors, installers and rental companies live with the consequences, because the end client calls them, not the factory. Choosing the right LED display module is therefore not a spec-sheet exercise. It is a decision about what your service team will be doing two years from now, and it applies equally to indoor and outdoor LED screens.
This guide covers the technical points that actually change the outcome: pixel pitch, brightness, refresh rate, grayscale and scan mode, encapsulation and IP rating, power and heat, and calibration consistency. It is written for people who buy modules by the container and install them in rooms and streets, not for people who only look at finished screens.
What an LED Display Module Really Is
An LED display module is the smallest field-replaceable unit of an LED screen. It carries the LED lamps themselves, the driver ICs, the PCB, the light-shielding mask and a frame that fastens into a cabinet. A cabinet contains several modules; a screen contains many cabinets. Because the module is what gets swapped on site, module-level consistency, connector design and mechanical tolerances matter more than most headline numbers.
Module size also sets your logistics. Common indoor modules are built to 320 × 160 mm or 256 × 128 mm, so that four of them form a 640 × 320 mm cabinet or fill a standard 500 × 500 mm or 600 × 337.5 mm die-cast cabinet. Outdoor modules are usually larger and heavier, often 320 × 320 mm or 500 × 500 mm with front or rear service access. If your installation crews work at height or in tight ceilings, confirm whether the module is front-serviceable with a vacuum tool or rear-serviceable from a maintenance corridor before you commit to a pitch.
Pixel Pitch: The Decision That Drives the Rest
Pixel pitch is the center-to-center distance between adjacent pixels, measured in millimeters. It sets resolution per square meter, viewing distance and, indirectly, cost. The widely used rule of thumb is that minimum comfortable viewing distance in meters is roughly equal to the pixel pitch in millimeters: a P4 module is comfortable from about four meters, a P2.5 from about two and a half. For content with small text or critical detail, double that figure.
In practice, indoor fine-pitch LED display modules of P1.2 to P1.9 serve control rooms, boardrooms and high-end retail where viewers sit close. P2.5 to P4 covers meeting rooms, lobbies, conference backdrops and houses of worship where the closest seat is several meters away. Outdoors, P6 to P10 is normal for roadside and building-face screens viewed from 20 meters and beyond, because at that distance smaller pixels add cost without adding visible detail. Larger pitch also means fewer driver ICs per square meter, which lowers power density and heat — a genuine reliability advantage on a sun-facing wall.
Brightness: Indoor, Outdoor and Everything Between
Brightness is measured in nits (candelas per square meter) and must be matched to ambient light, not maximized. Indoor modules typically run 600 to 1,200 nits, semi-outdoor and storefront screens 2,500 to 4,000 nits, and direct-sun outdoor LED screens 5,000 to 8,000 nits or more. Overshooting indoor brightness is a common and expensive mistake: it washes out black level, raises power and heat, shortens component life and makes the screen uncomfortable to sit beside.
Two brightness figures exist on most datasheets. Peak or white-balance brightness is what you get with all three colors at full output; calibrated brightness is what the screen actually runs at after factory color calibration, often 20 to 30 percent lower. Ask which figure is quoted. For outdoor projects, brightness is also a control issue: an auto-dimming system with light sensors lets the screen ride 8,000 nits at noon and drop to a few hundred at night, which protects the LEDs and keeps neighbors and regulators content.
Refresh Rate, Grayscale and Scan Mode
Refresh rate is how many times per second the driver rewrites the image. On camera, a low refresh rate produces black scanning bands and flicker. For screens that will be filmed, streamed or covered by broadcast media, look for at least 1,920 Hz and prefer 3,840 Hz. Rental companies should treat 3,840 Hz as a baseline, because the client's videographer will find the one camera settings combination that exposes a weaker module.
Grayscale depth describes how many brightness steps each sub-pixel can produce, typically 12 to 16 bits. The number matters most at low brightness. A module rated for high grayscale but built with weak driver ICs and a poor low-gray circuit will show color shift, banding and a "dirty" dark scene when dimmed for evening use — the classic complaint after an outdoor screen has been running for a year. Scan mode describes how the driver addresses rows: 1/8, 1/16, 1/32 scan and static drive. A higher scan ratio generally means fewer driver channels per module and lower cost, but more current pushed through each channel in a shorter window. For fine-pitch indoor modules, static or low-scan designs with quality constant-current driver ICs give the most stable low-gray performance. This is where a brand's engineering discipline shows, and it is worth asking any supplier, HITULED included, which driver IC family and scan mode a quoted module uses.
Encapsulation and IP Rating: Where Outdoor Modules Live or Die
Indoor modules are usually SMD, with the lamp package sitting in a molded mask. Outdoor modules must survive rain, dust, salt air, UV and thermal cycling. Standard outdoor construction is SMD with a sealed mask, gaskets and a fully potted or conformally coated PCB, rated IP65 on the front face and IP54 or better on the rear. Two alternatives are worth knowing. COB (chip on board) encapsulation covers the LEDs with resin, giving better impact and moisture resistance and a wider viewing angle, at higher cost. GOB (glue on board) adds a protective layer over a standard SMD module and is popular for floors, stages and rental units that get handled roughly.
Note that IP65 on the module does not make the cabinet waterproof by itself. Water enters through cabinet seams, cable glands, fan openings and service doors. If the supplier rates a cabinet rather than a module, ask how the two ratings were verified together.
Power, Heat and Mechanical Details
Power density follows pitch and brightness. A bright outdoor module can draw 800 W/m² or more at peak white, while its average content consumption is often 250 to 350 W/m². Raise the average figure by 30 percent for power supply and circuit sizing, and remember that three-phase distribution and local voltage standards differ by market: 110 to 120 V in North America, 220 to 240 V in Europe, the Middle East, Africa and most of Asia. A module that runs cool at 240 V may need different power supply selection at 120 V for the same wall area.
Heat is the main killer of LED lamps and driver ICs. Prefer designs with a substantial metal core PCB, good thermal path to the cabinet frame, and fanless natural convection where the climate allows. In hot, dusty environments, fans pull in dust and become a maintenance item themselves. Where fans are unavoidable, specify replaceable units and a filter schedule. Also confirm that the module connector is rated for the number of insertions your service team will realistically perform, and that module screws use a consistent, commonly available driver bit.
Calibration and Batch Consistency
Two modules can meet the same datasheet and still not match visually. Brightness binning, wavelength binning and forward-voltage binning determine whether modules from different batches look like one screen. Tight wavelength sorting — within 2.5 nm is a common good-practice figure for premium projects — plus a factory calibration file for every module is what keeps a white field white and a gray field neutral.
For multi-screen projects and rental fleets, insist on this: each module shipped with a calibration data file that can be reloaded after replacement, and a commitment that spare modules are binned to the same tolerance. When a distributor replaces a module two years later and it looks different, the cost is not the module; it is the reputation and the labor.
A Practical Module Selection Checklist
Match pixel pitch to the true closest viewing distance, not the average one.
Confirm whether quoted brightness is peak or post-calibration, and whether auto-dimming is included.
For any screen that may be filmed, require 1,920 Hz minimum, 3,840 Hz preferred.
Ask for grayscale depth, scan mode and the driver IC family in writing.
Decide SMD, COB or GOB based on handling, environment and budget, not fashion.
Verify IP ratings for module and cabinet separately, and check cable glands and service doors.
Size power infrastructure from average consumption plus 30 percent margin at the correct local voltage.
Request factory calibration files and binning tolerance for brightness and wavelength.
Check whether modules are front- or rear-serviceable for your installation method.
Order a realistic spare percentage — typically 2 to 5 percent of module count for fixed installations, more for rental.
Where to Go From Here
The module is where an LED screen earns or loses its reputation, indoors and outdoors, and the specification decisions above cost very little at the quotation stage compared with what they save in service calls. A supplier who will put driver IC family, scan mode, binning tolerance and calibration policy in writing is a supplier worth keeping. HITULED builds indoor and outdoor LED display modules and complete screens in this spirit, with module-level calibration data and binning control for distributors and integrators who have to stand behind the installation. If you are specifying a project, send the viewing distance, ambient light condition and mounting method, and HITULED will recommend a module configuration and arrange a sample for your own testing.